
|
|
 |
|
|
|
Welcome to the Australian Ford Forums forum. You are currently viewing our boards as a guest which gives you limited access to view most discussions and inserts advertising. By joining our free community you will have access to post topics, communicate privately with other members, respond to polls, upload content and access many other special features without post based advertising banners. Registration is simple and absolutely free so please, join our community today! If you have any problems with the registration process or your account login, please contact us. Please Note: All new registrations go through a manual approval queue to keep spammers out. This is checked twice each day so there will be a delay before your registration is activated. |
|
|||||||
 |
|
|
Thread Tools | Display Modes |
|
|
#61 | ||
|
P6 LTD
Join Date: Feb 2005
Location: Perth
Posts: 3,291
|
The differential is now finished. The last few remaining bolts turned up so they have been fitted along with the sway bar too. The diff is now ready to be fitted
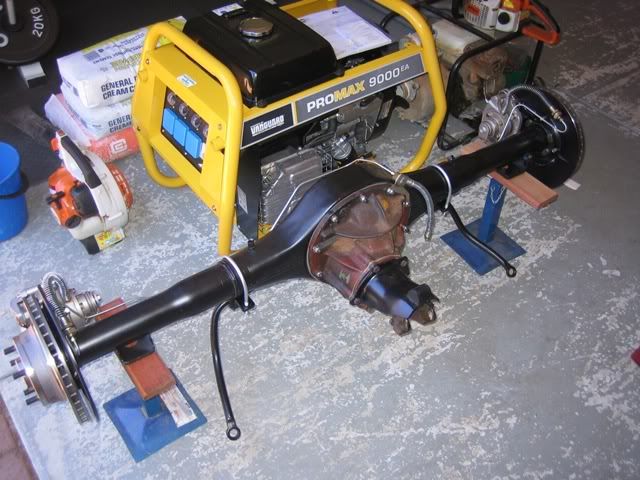 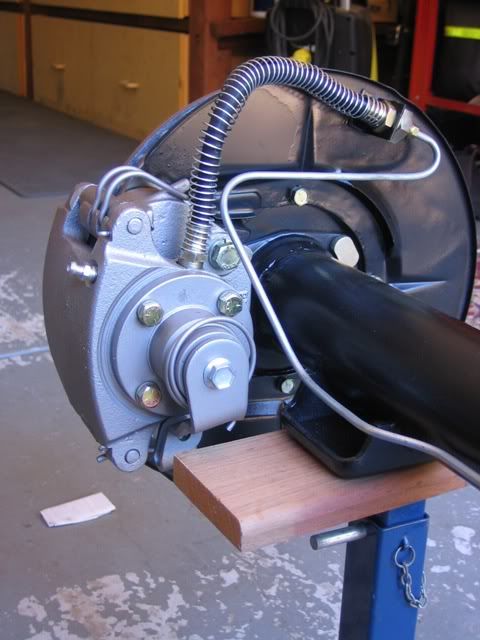 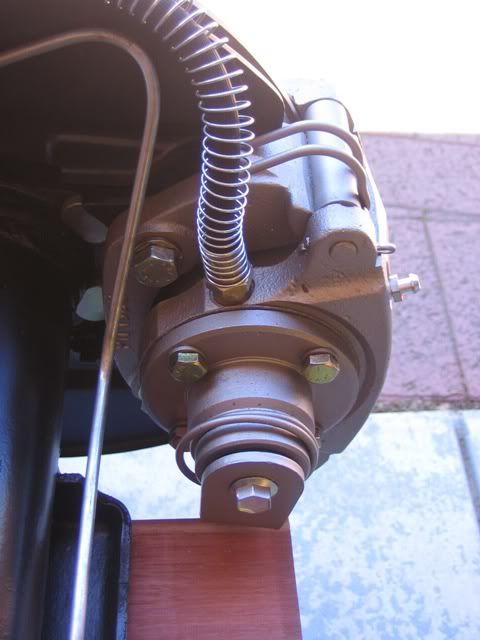 And now in the shed ready to go 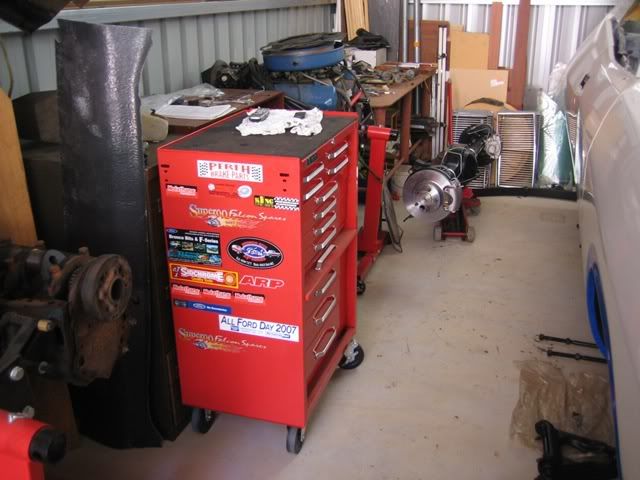 As it has been a while, I had forgotten that I still had some stuff to remove first, namely the bump-stops, old shock absorbers and the hand brake cable. 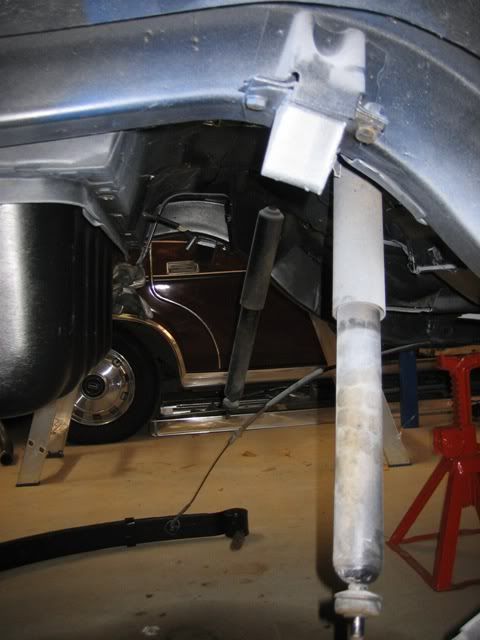 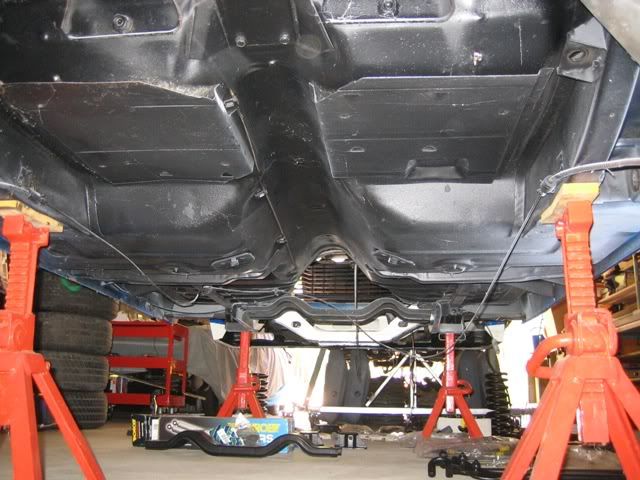
|
||
|
|

|
|
|
#62 | ||
|
P6 LTD
Join Date: Feb 2005
Location: Perth
Posts: 3,291
|
And in it goes
 : : 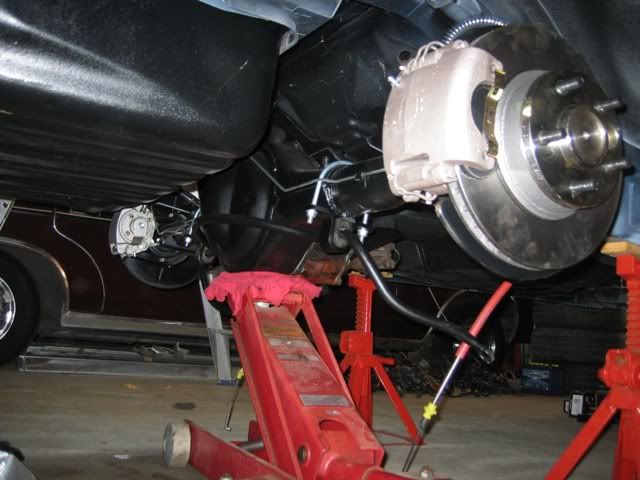 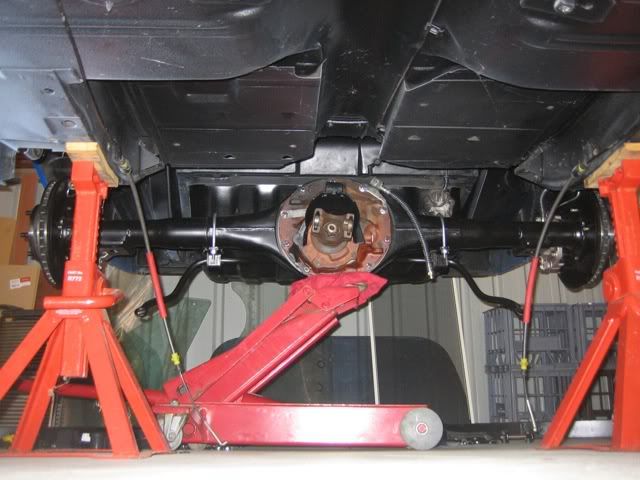 And then it was a case of on with the rear leaf springs, insulators and mounting plates 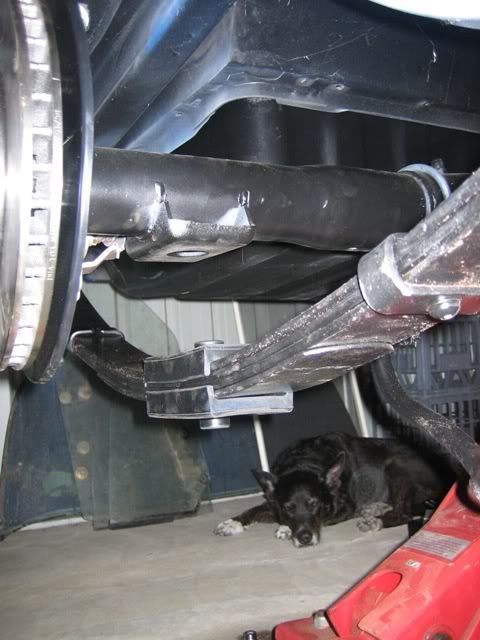 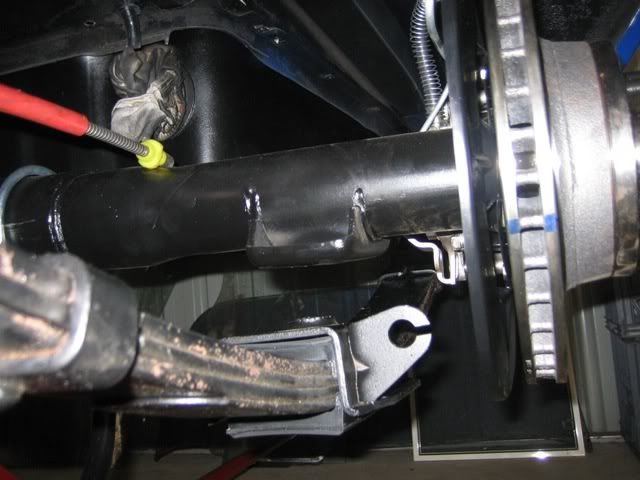 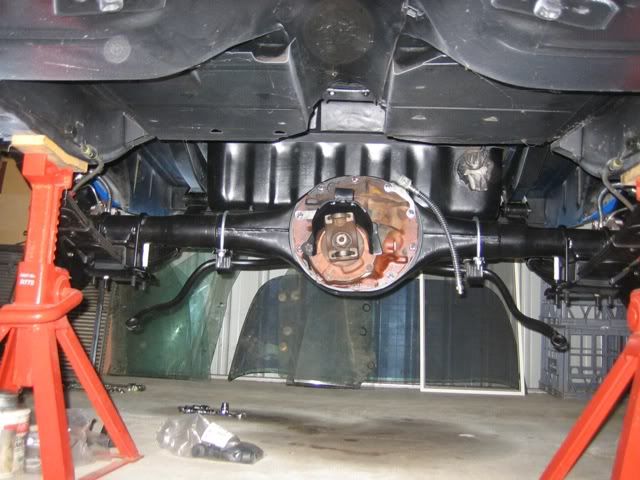 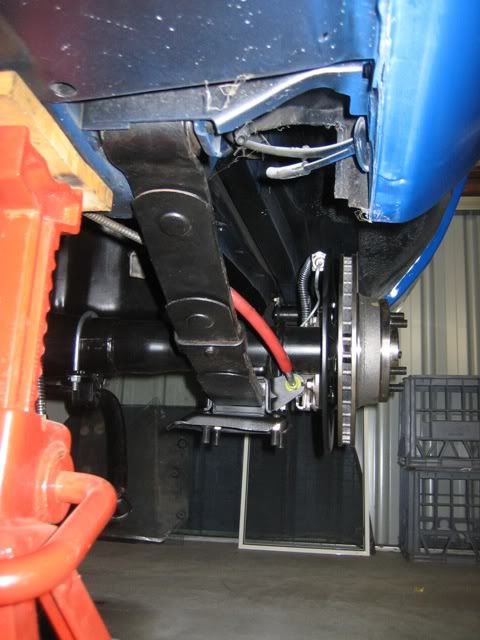 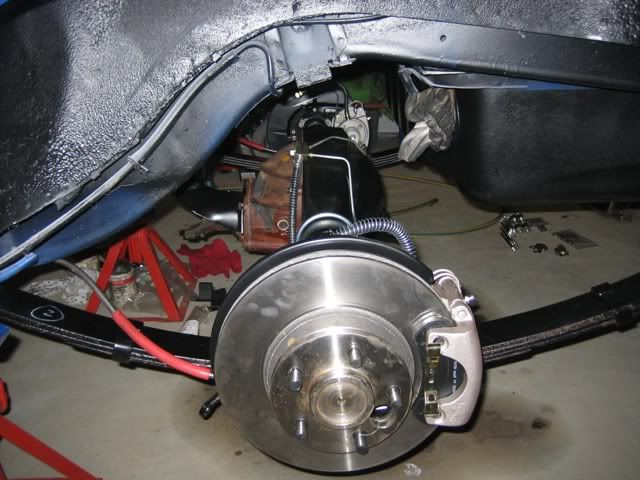 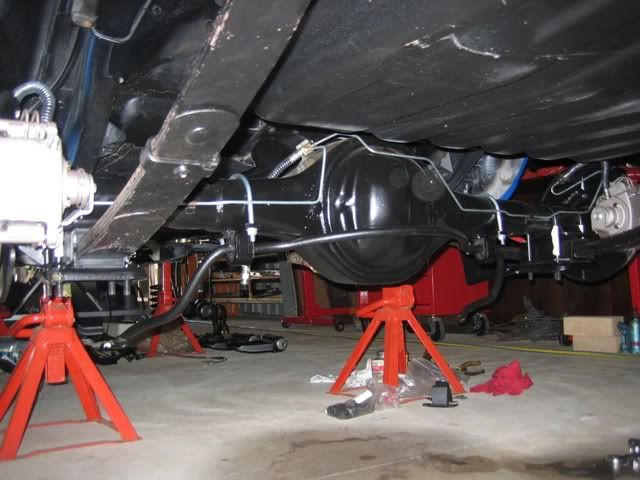 Out with the old and in with the new 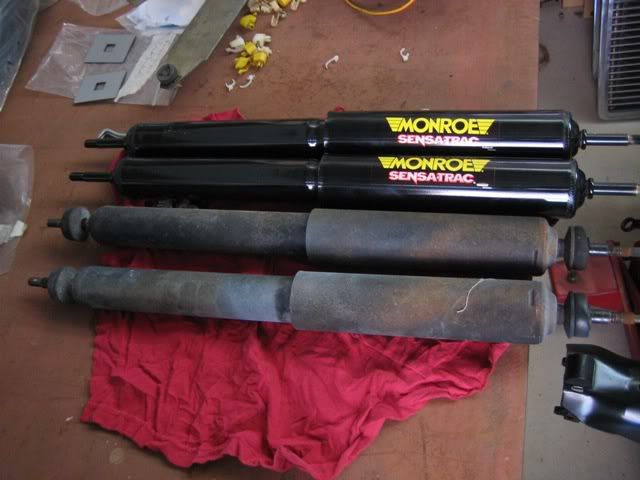 And yes, I took the Monroe sticker off. And in they went 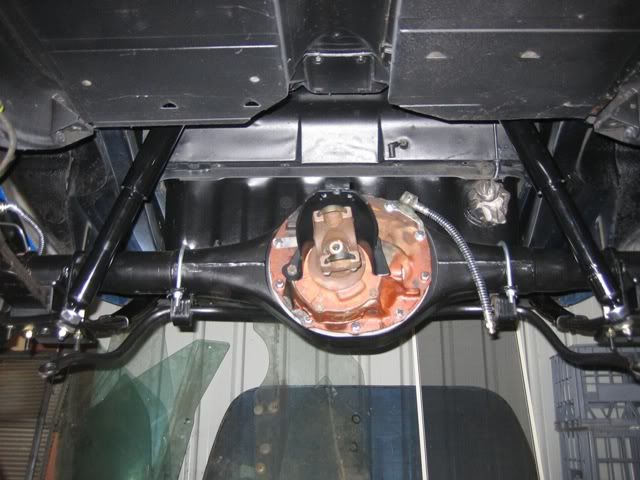
|
||
|
|

|
|
|
#63 | ||
|
P6 LTD
Join Date: Feb 2005
Location: Perth
Posts: 3,291
|
Whilst there, I also put in the new hand brake cable as well
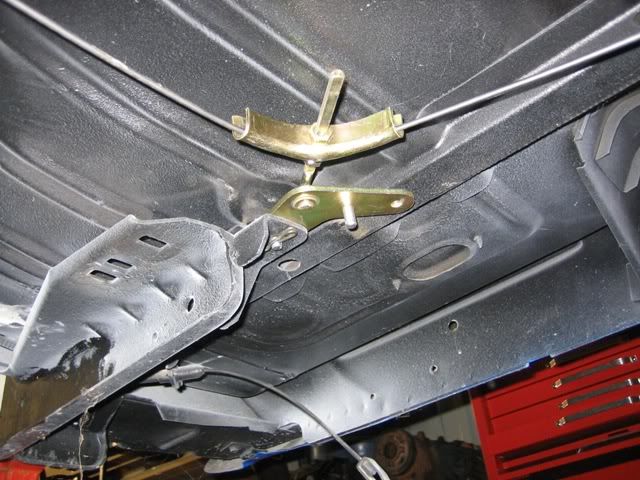 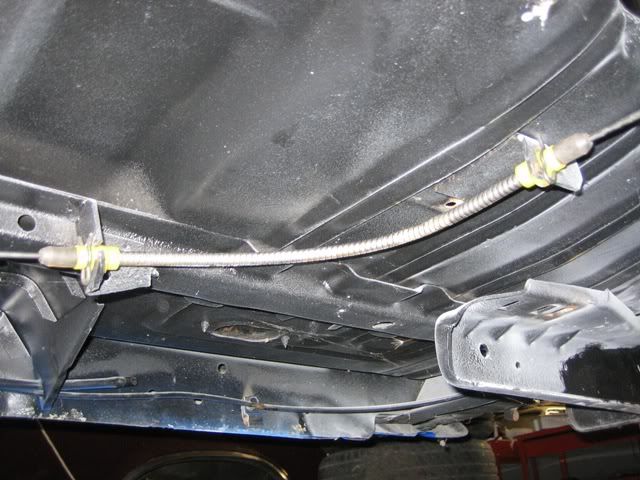 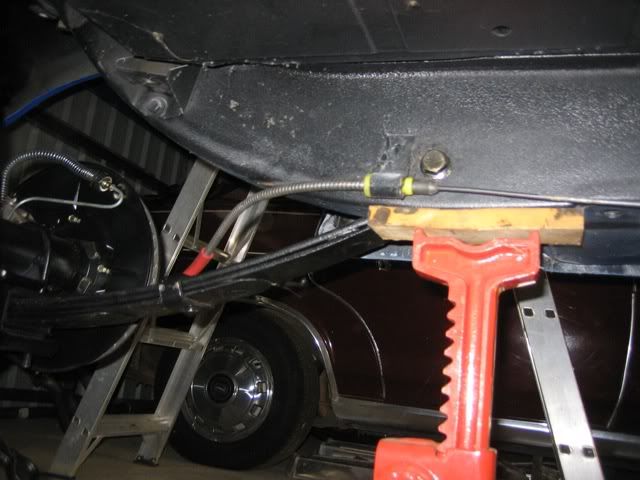 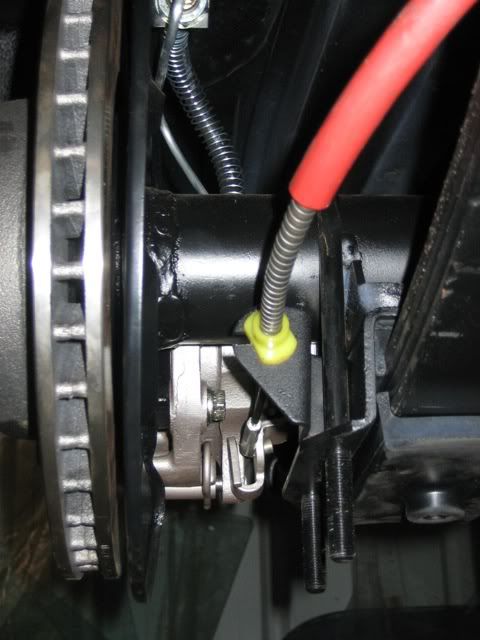 All I have to do now is to fit the sway bar to body bolts and the differential is all done (excluding the connection of the flexible brake line which will be done when the new hard brake lines turn up). Plus fitting the new front (short) hand brake cable as well. Tommorrow, I am hoping to get the front end done, have a heap of parts, just need to sort them all out and go from there. 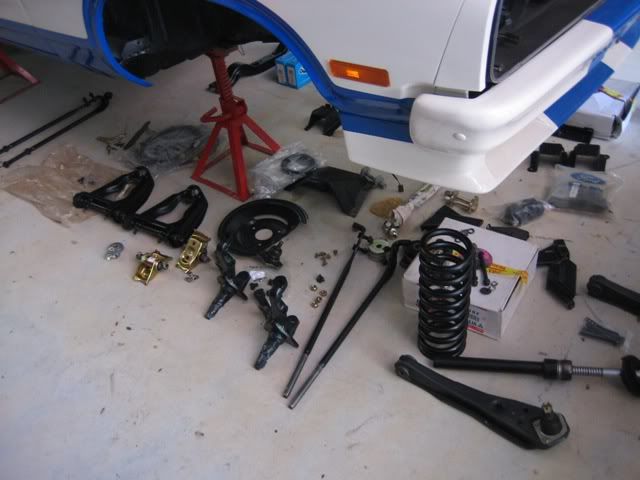 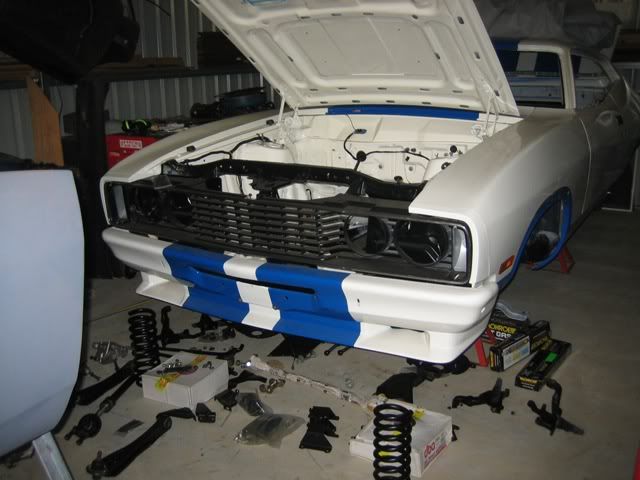 These also turned up a few days ago  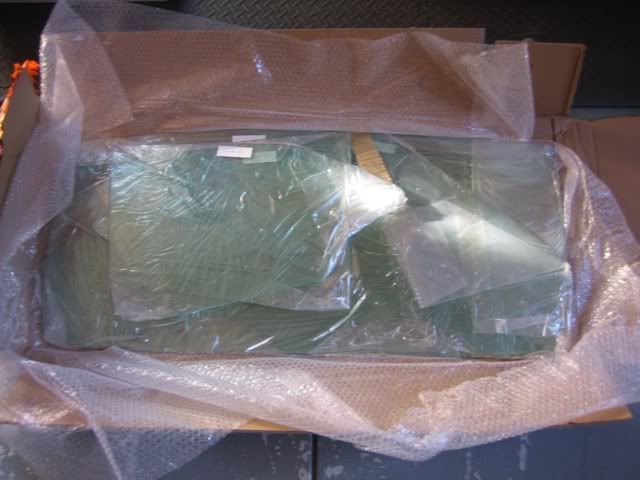 Hopefully have the doors fully assembled in a few weeks time. Will post up more pics over the weekend. |
||
|
|

|
|
|
#64 | ||
|
P6 LTD
Join Date: Feb 2005
Location: Perth
Posts: 3,291
|
The front end is now mostly done except for the drag link, that I am still waiting on.
Here are a few more pics of the last few days work 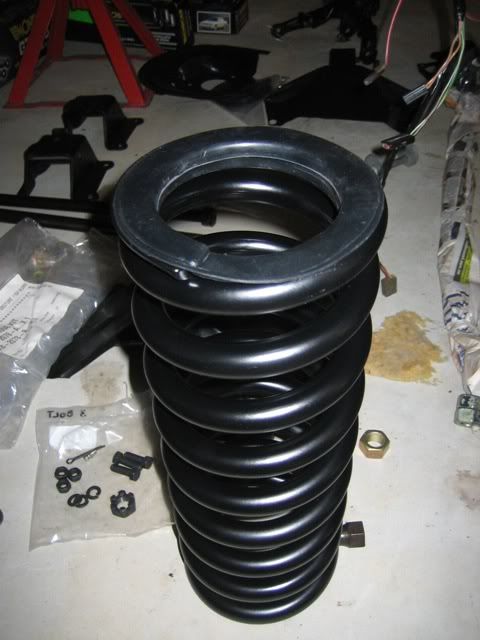 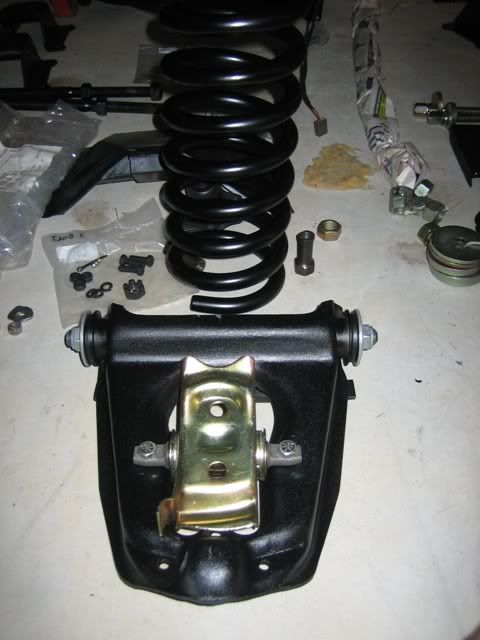 The proper spring compressor works an absolute treat, love it 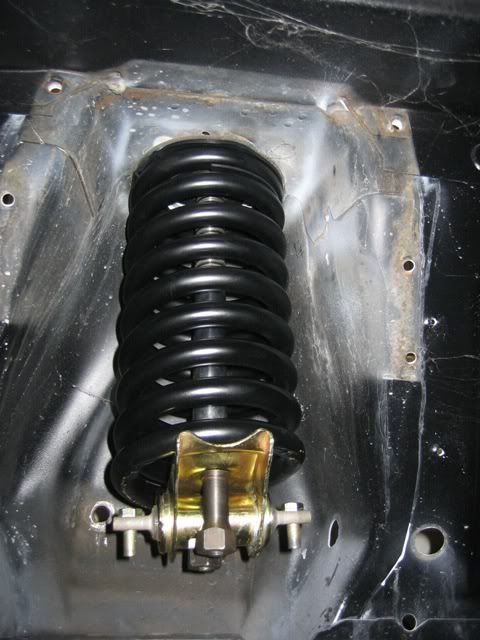 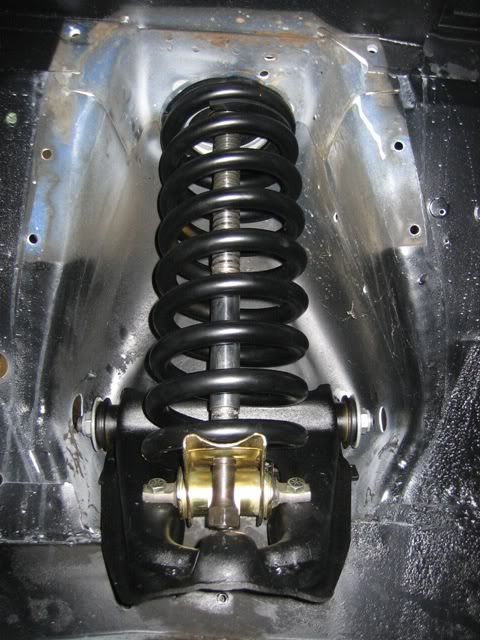 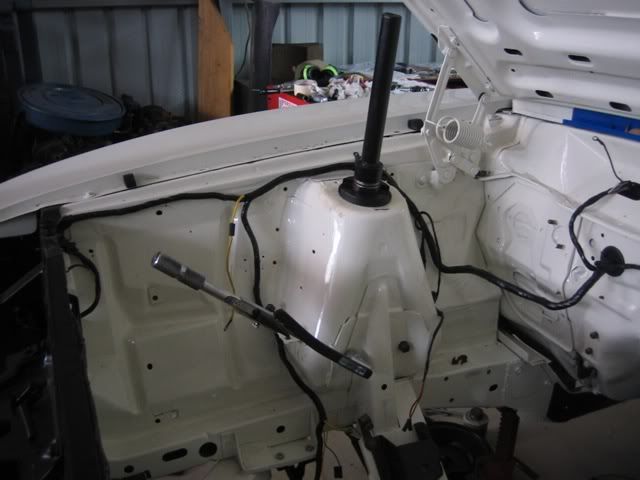 And all of the other bits slowly go on 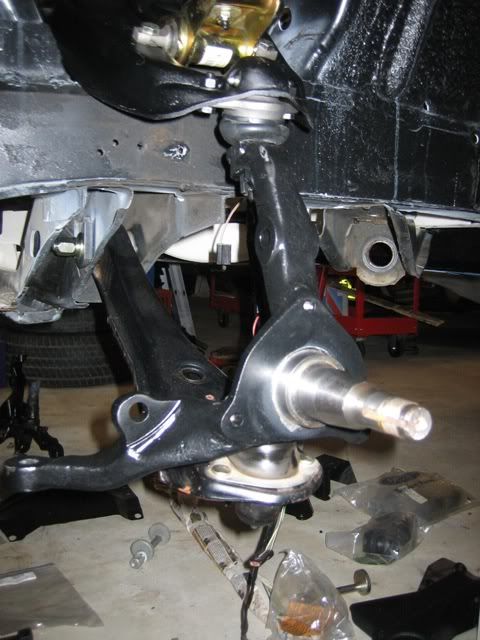 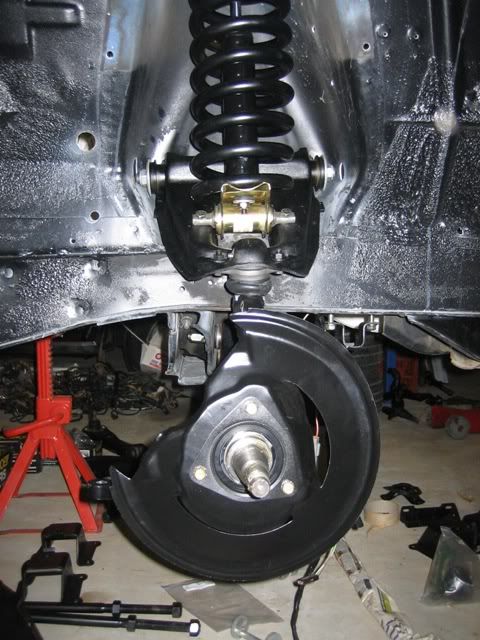 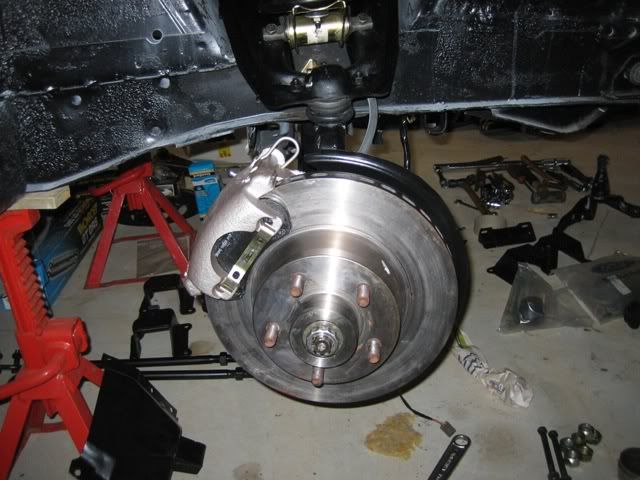 And the passenger side 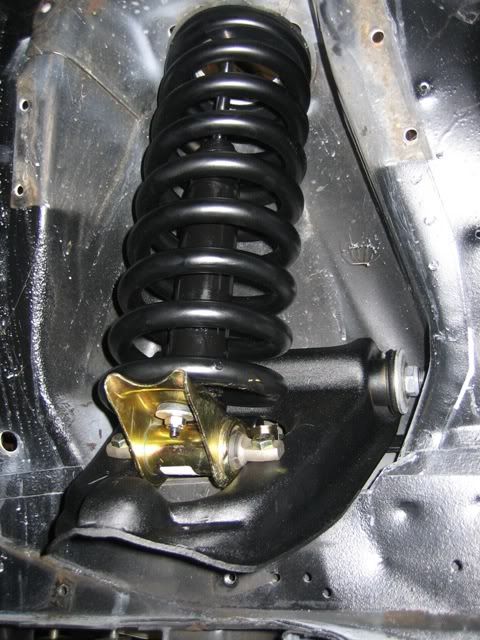 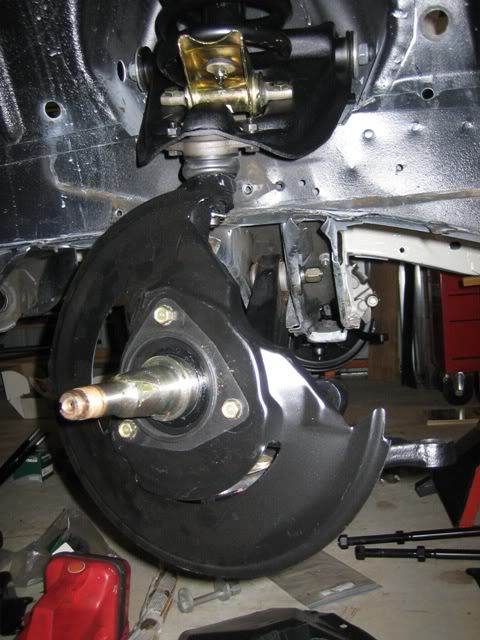 [/CENTER] [/CENTER] I have also managed to get the sway bar and radius rods on as well. 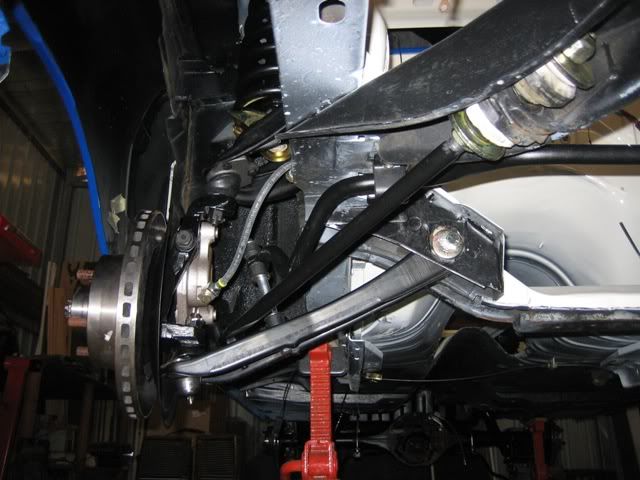 Next update hopefully I will have the doors fully assembled, the drag link done and then the job that I have been dreading - removing, testing and installing the AC unit  : Mind you, once that is done, I can then put all of the rest of the dash in : Mind you, once that is done, I can then put all of the rest of the dash in  : : And then comes the interior  : :  : :
|
||
|
|

|
|
|
#66 | ||
|
Regular Member
Join Date: May 2008
Location: Vic
Posts: 192
|
Mate, ....a new car in the making! I am very impressed.
Hope the rest goes well for you. Cheers Rob. |
||
|
|

|
|
|
#67 | ||||
|
P6 LTD
Join Date: Feb 2005
Location: Perth
Posts: 3,291
|
Quote:
 _2: _2: And yes, I too am getting keener all the time as the car is now getting closer to being finished. Quote:
|
||||
|
|

|
|
|
#68 | ||
|
FF.Com.Au Hardcore
Join Date: Jan 2009
Location: Perth
Posts: 1,633
|
Wow, you have been busy! Makes me wish my Cobra was near finished, But I am still in the panel beating stages! Where did you get the spring compressor from and how much? Had a cruise on Sunday down the coast, 2 Cobra's turned up at the meet point, But only 1 did the cruise. Made my XA coupe look like nothing special! (Damn it!)
Scott |
||
|
|

|
|
|
#69 | |||
|
P6 LTD
Join Date: Feb 2005
Location: Perth
Posts: 3,291
|
Quote:
|
|||
|
|

|
|
|
#70 | ||
|
coupe 72
Join Date: Mar 2009
Location: adelaide
Posts: 791
|
That spring compressor looks the goods, alot safer than the ones ya clamp on the side and no scratches on the springs . Where did you get that bit of kit from and how much, if ya dont mind me askin?
|
||
|
|

|
|
|
#71 | |||
|
P6 LTD
Join Date: Feb 2005
Location: Perth
Posts: 3,291
|
Quote:
Over the weekend I tackled a job that I have been avoiding. Turning this 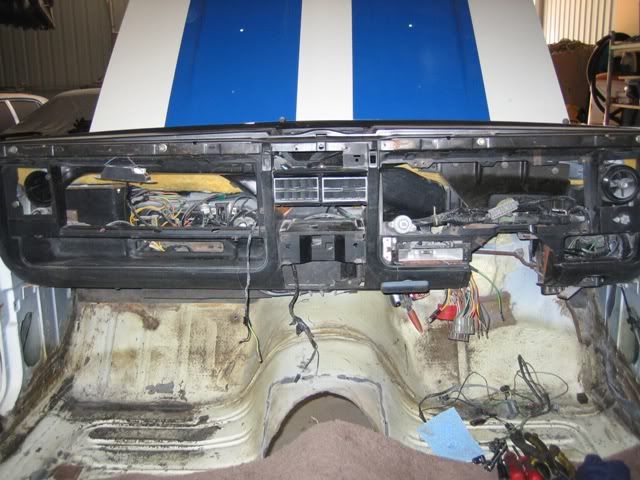 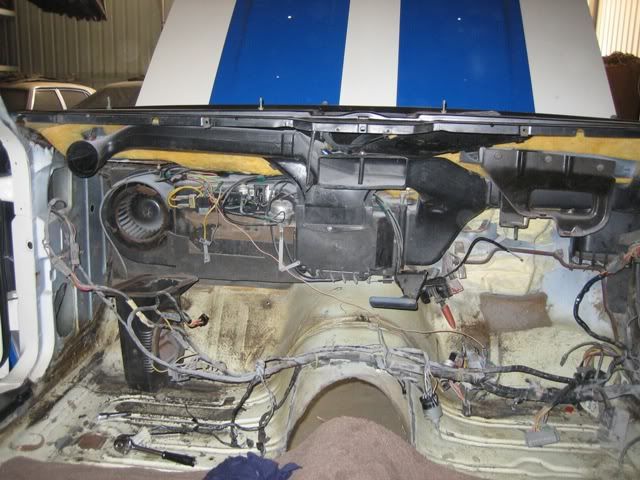 Into this 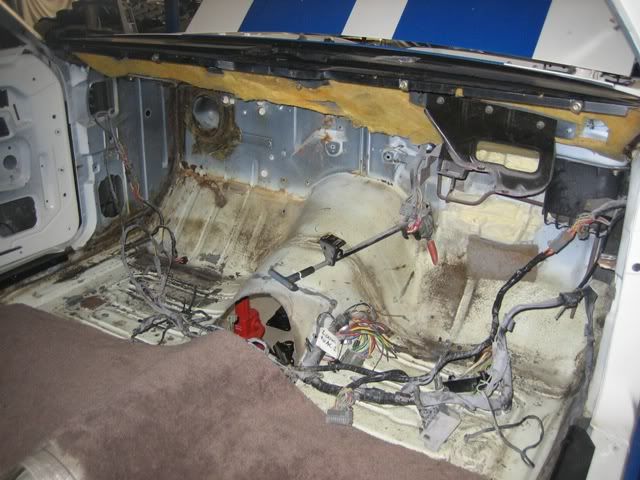 Now that this is out 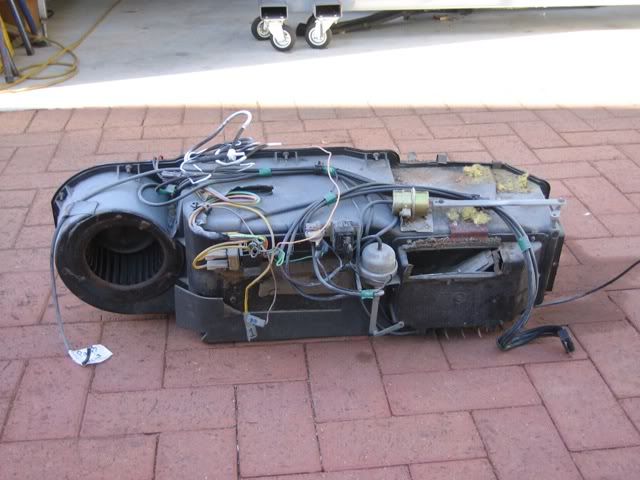 I can get it professionally serviced. And the dash and vents will no need a good clean. 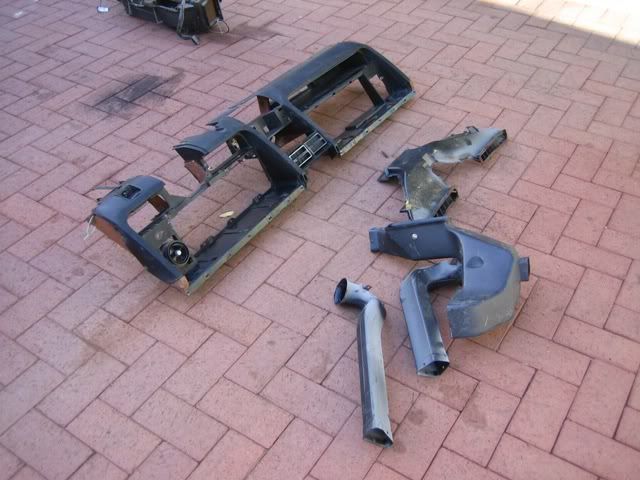 Whilst I am at it, the dash needs some minor plastic repairs/welding, any one done this kind of work before and if so, how? Now that the above is out, it has made it much easier to get the hand brake done. All I have to do now is to remove the old cable/lever and put the new ones in 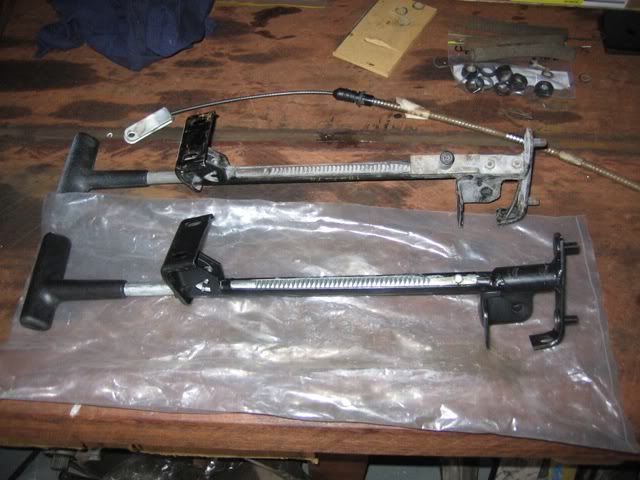
|
|||
|
|

|
|
|
#72 | ||
|
FF.Com.Au Hardcore
Join Date: Jan 2009
Location: Perth
Posts: 1,633
|
I have not heard of any good plastic welders in Perth personally? I have asked around, but even Tony (door trim man?) used to get all his done over East I think? I have considered Dash Original in SA? as there was a thread on here under Classic Falcons I think and they look like they do a great job. The problem is freighting though?
|
||
|
|

|
|
|
#73 | ||
|
T3/Sprint8
 Join Date: Jan 2005
Location: Australia
Posts: 16,552
|
Paull as posted by all awesum job and love checking out your thread.
Just a question re using senselesstrac shocks, knowing you want her looking original and by the quality of the build why not have bought some billys or konis and painted them black, far better as I'm sure you'd know and better handling ofcourse. Keep up the great work.
__________________
Tickfords T3/TS50 '02 Sprint8 manual Sept 24 '16 Daily Macan GTS "Don't believe everything you read on the internet. Abraham Lincoln" |
||
|
|

|
|
|
#74 | |||
|
P6 LTD
Join Date: Feb 2005
Location: Perth
Posts: 3,291
|
Quote:
The thing is though, the car, in my possesion that is, will never really see any hard work. Also, having spoken with the seller (Mechanic/owner of the car parts store that I go to), he said that the SensaTrac were good enough and anything above that is perhaps overkill, in my case that is. And thanks for you kind words, much appreciated. |
|||
|
|

|
|
|
#75 | |||
|
T3 TS50 075
Join Date: Nov 2007
Location: Perth
Posts: 1,146
|
Quote:
__________________
Cheers John My car T3 TS50 #75 Blueprint manual 1/4 mile 13.38 @ 102.97 mph  TS 50 = 237.1 rwkw TS 50 = 237.1 rwkw
|
|||
|
|

|
|
|
#76 | |||
|
Regular Member
Join Date: Nov 2006
Location: Perth WA
Posts: 58
|
Quote:
Cheers Marcus |
|||
|
|

|
|
|
#77 | |||
|
P6 LTD
Join Date: Feb 2005
Location: Perth
Posts: 3,291
|
Quote:
I took all of the gear (grille, dash, sun visors, console, A pillar moulds and arm wrests) to Les' mid last week. Will hopefully have it back in a couple of weeks time. |
|||
|
|

|
|
|
#78 | ||
|
Authorised Tank Commander
Join Date: Feb 2009
Location: Perth Wa
Posts: 136
|
After we talked on the phone I had to go look at your posts again.
Mmmmmm Nice!!!!
__________________
***1978 XC Falcon 500 Rallypack sedan*** ***351, FMX, 9inch*** |
||
|
|

|
|
|
#79 | ||
|
Regular Member
Join Date: Aug 2007
Posts: 153
|
Wow Paul, very nice job its great to see the how great a resto can become when you have a keen eye for detail and also be organised.
I too love the xc cobra and after i finish my xa gt and gs fairmont, the next one will be a cobra.I have been on the look out for one not really worried about number or options but prefer one needing a full resto. If by chance you hear of one coming up for sale please pm me' cash in fist waiting. good luck  : :
|
||
|
|

|
|
|
#80 | ||||
|
P6 LTD
Join Date: Feb 2005
Location: Perth
Posts: 3,291
|
Quote:
I personally don't know of any around in the condition that are looking for, however, they do come up every now and then. I got the interior parts back yesterday, very nice! 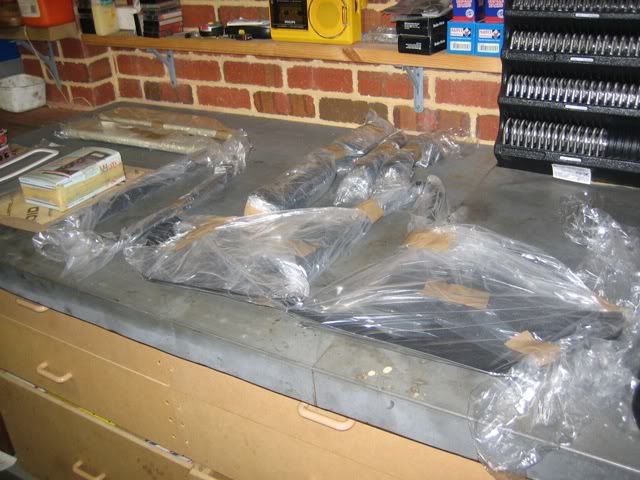 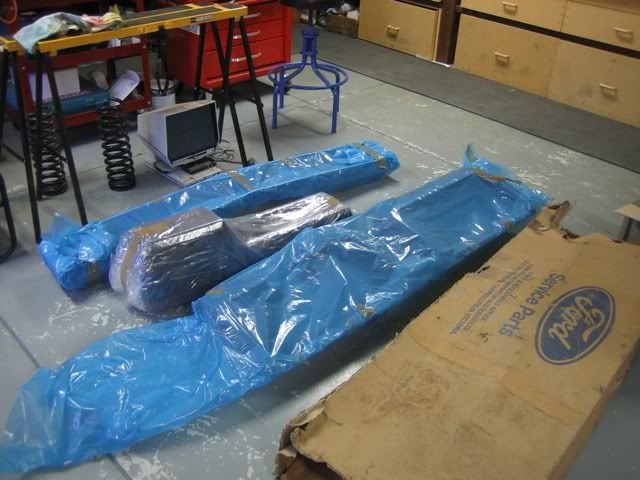 Drivers side armwrest 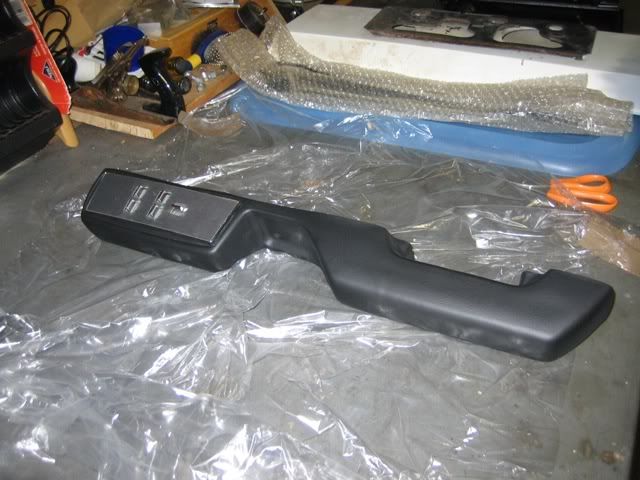 Console 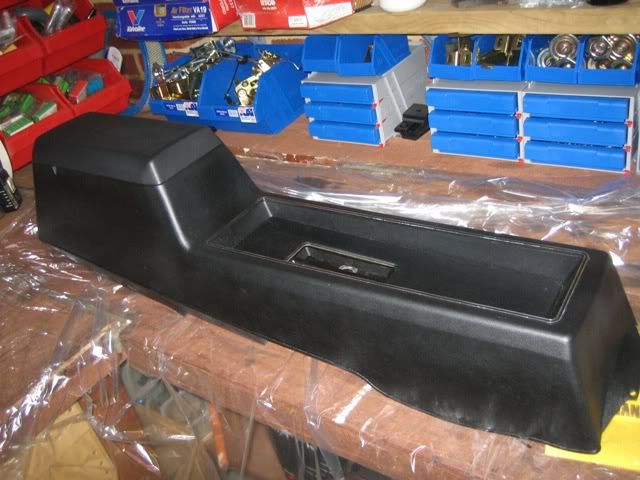 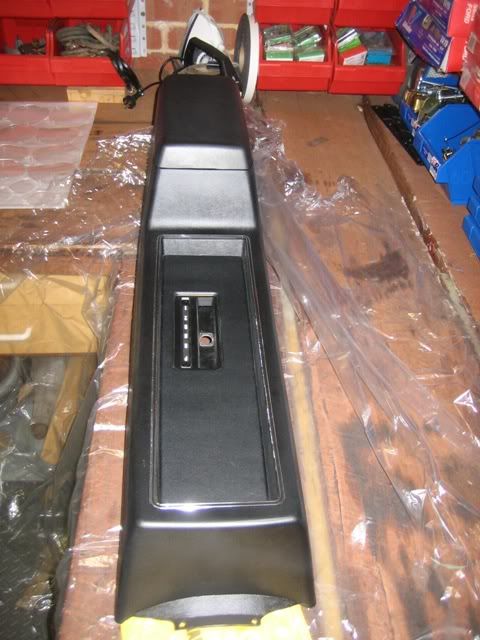 Dash 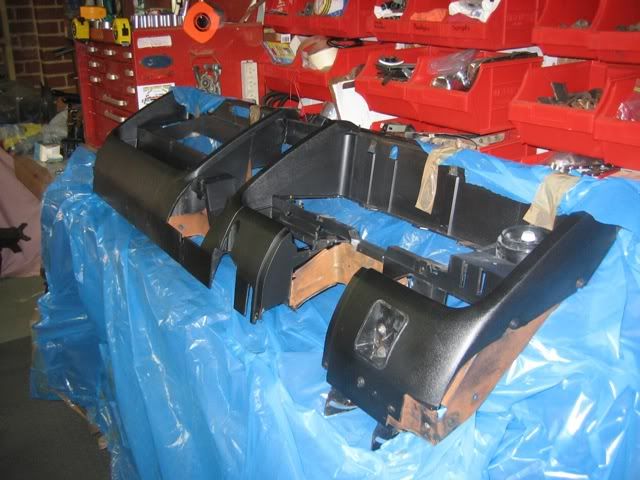 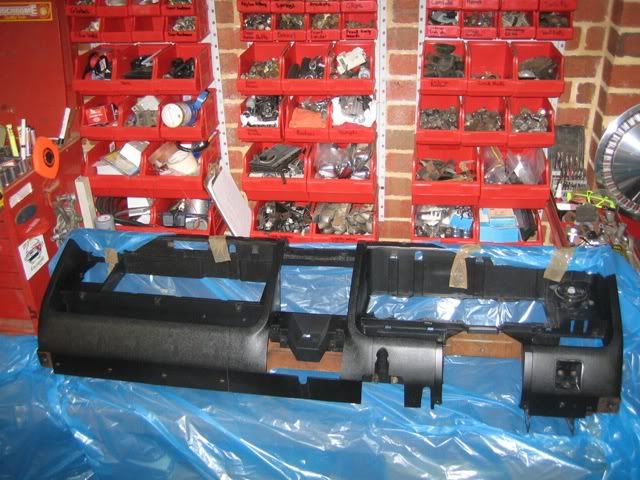 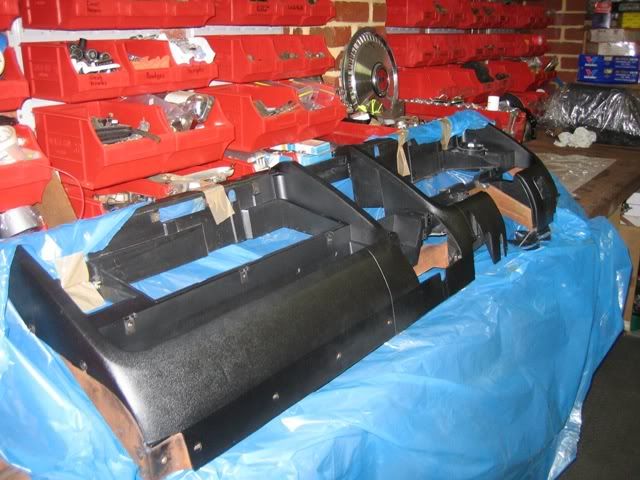 I also had two old A pillar moulds repaired and painted. The one closest to the camera is an NOS one (with a bit of dust on it) and the other is the repaired one. Slightly darker in colour, or perhaps more of a sheen on it, but as I got both sides done, the NOS one goes back in the draw and you wont notice any difference. 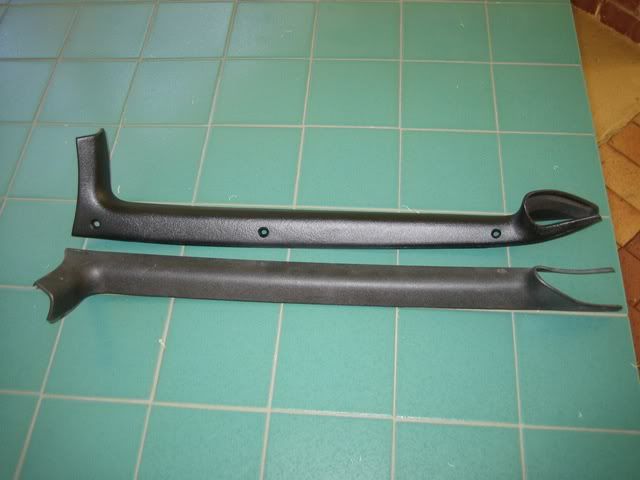 I also have the new brake lines as well 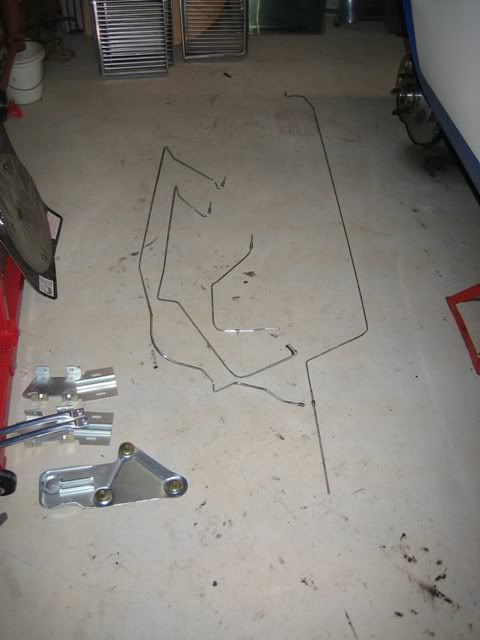 Still waiting on the instrument cluster as well as the AC unit to come back. Will then put all the interior in. I had planned on doing some work on the car last Thursday, but as it was about 42 degrees, I thought that working in the shed would be a bad move  : : Quote:
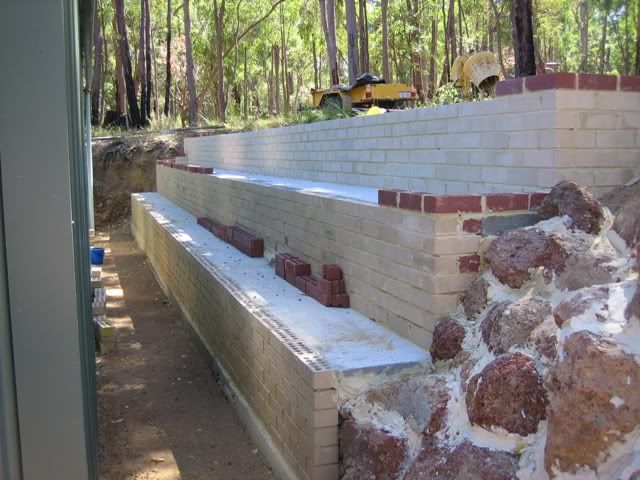 Will catch up in mid March. |
||||
|
|

|
|
|
#81 | ||
|
FF.Com.Au Hardcore
Join Date: Mar 2008
Location: Melbourne
Posts: 10,838
|
Love the prgress pics..I dont know about anyone else, but i get all happy when i see Ford geniune parts boxes.....
http://i13.photobucket.com/albums/a2...Interior02.jpg |
||
|
|

|
|
|
#82 | ||
|
Awesome
Join Date: Oct 2007
Location: In my own little world..Everyone here knows me :)
Posts: 9,401
|
The detail on this build thread is fantastic. Your attention to detail Paull is inspiring. I look forward to your updates. It is a work of art

|
||
|
|

|
|
|
#83 | ||
|
Regular Member
Join Date: Aug 2007
Posts: 153
|
You have inspired me to do a build thread on my xa gt, will be similar detail to your cobra Paull, its back from the painters in 4 weeks so stay tuned
|
||
|
|

|
|
|
#84 | ||||
|
P6 LTD
Join Date: Feb 2005
Location: Perth
Posts: 3,291
|
Quote:
 : :  : : 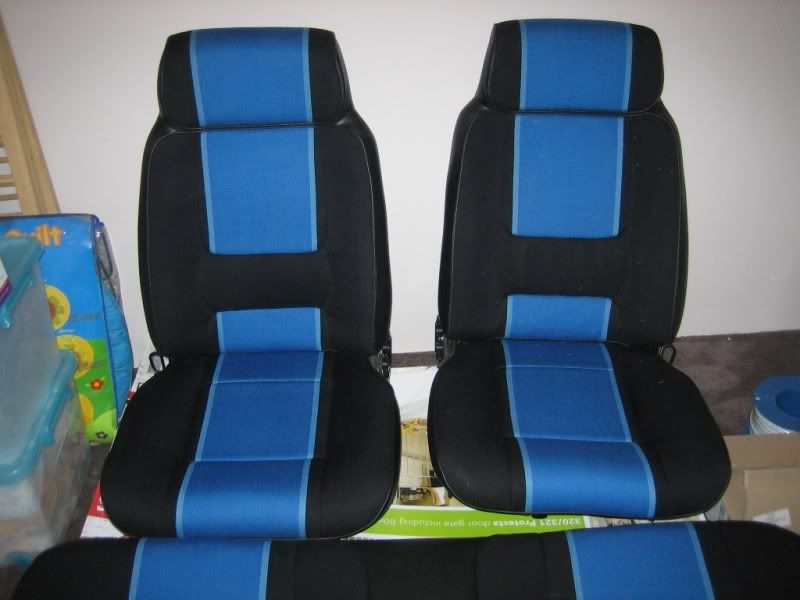 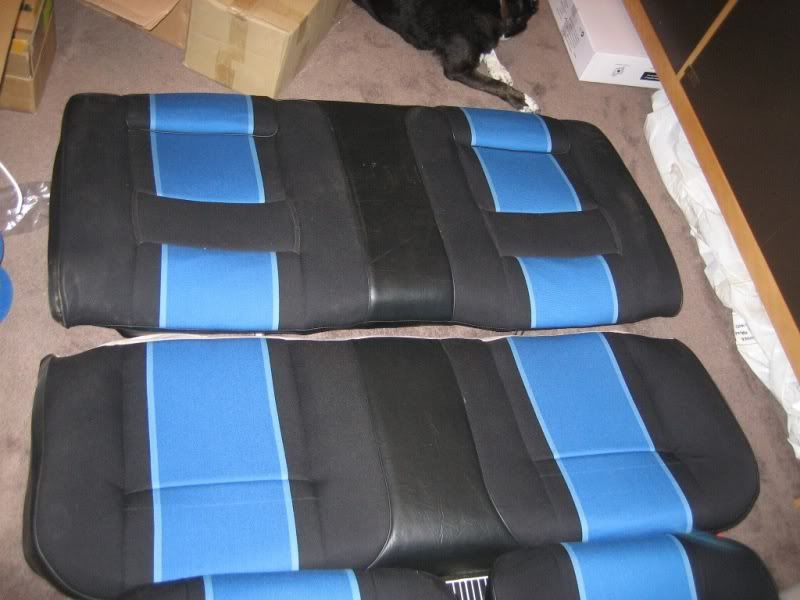 Will be doing some more work on the car tomorrow and Friday so should have some more pics by the weekend. Quote:
|
||||
|
|

|
|
|
#85 | ||
|
FF.Com.Au Hardcore
Join Date: Mar 2008
Location: Melbourne
Posts: 10,838
|
Mmmmmmm Elusive Cobra Trim!!!!!!!
Good work Paull. Looking fwd to more pics mate |
||
|
|

|
|
|
#86 | ||
|
P6 LTD
Join Date: Feb 2005
Location: Perth
Posts: 3,291
|
Just a little bit of work done today.
First off was getting the rear windows together. Quick clean up, rub kero over the rubber and together they go. 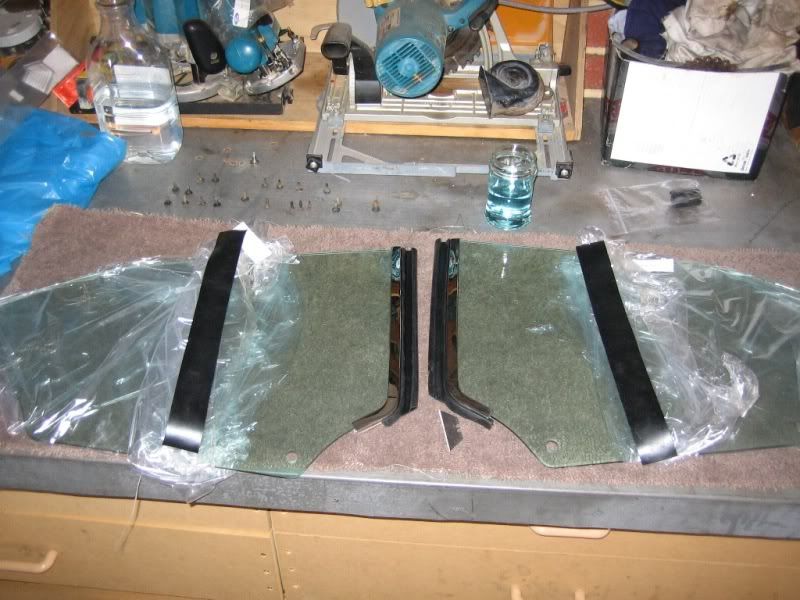 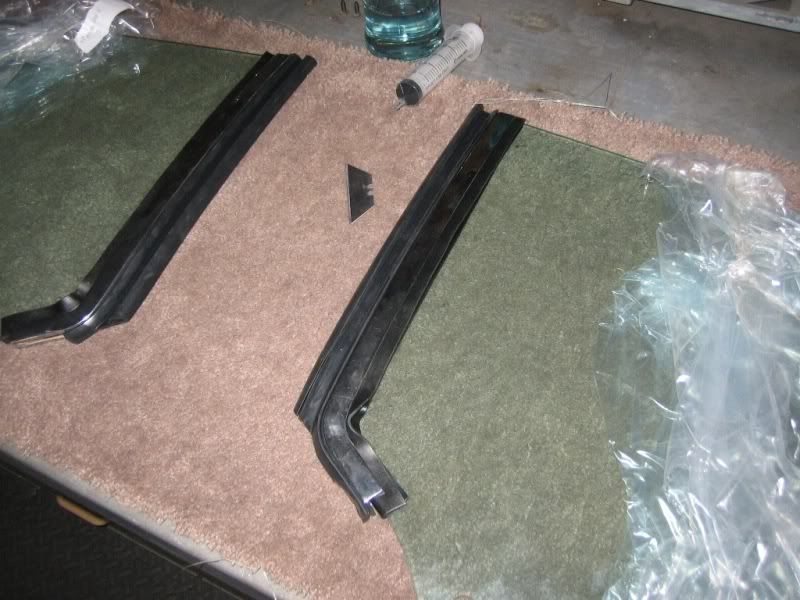 Then, trim off the excess rubber and all done. 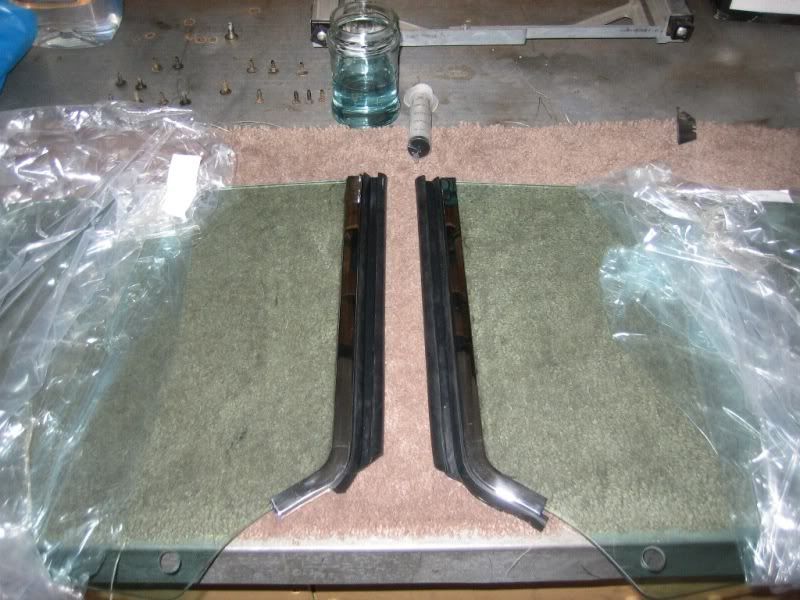 Next up was removing the steel frame from the dash. Although the front of the dash has been resto'd, the steel frame has a fair bit of surface rust and looks crappy. Tomorrow I will rub it back and treat/paint the steel before re-assembling 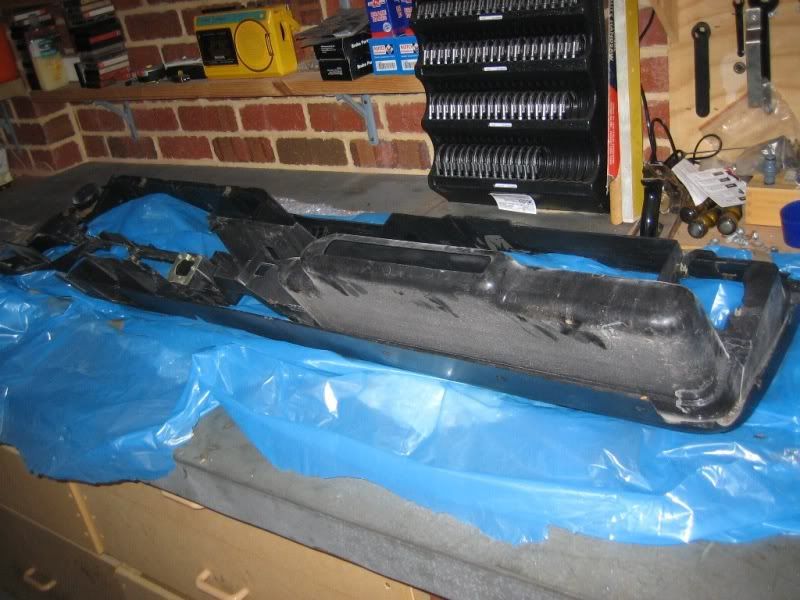 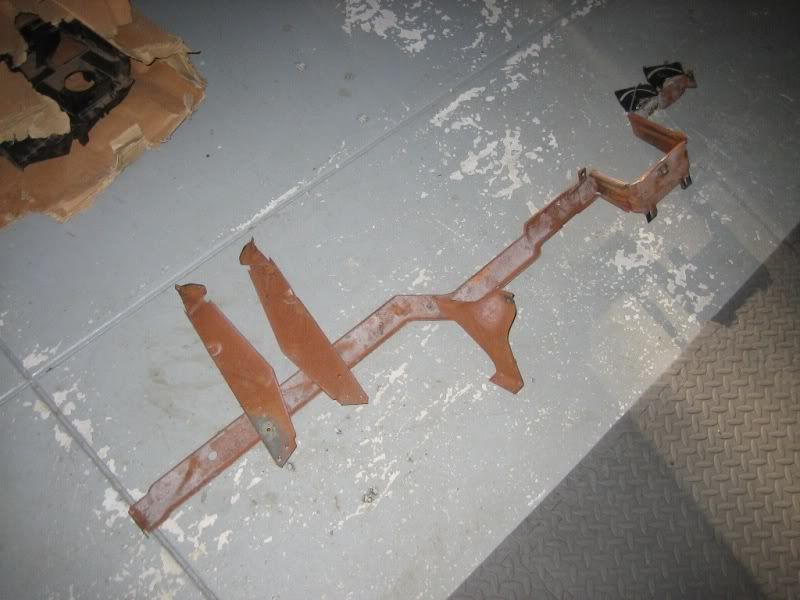 Will hopefully get all of the windows loaded into the car tomorrow along with mechanisms as well as window seals. If time permits, will also do the brake booster and brake lines |
||
|
|

|
|
|
#87 | |||
|
P6 LTD
Join Date: Feb 2005
Location: Perth
Posts: 3,291
|
Quote:
More pics over the weekend 
|
|||
|
|

|
|
|
#88 | ||
|
P6 LTD
Join Date: Feb 2005
Location: Perth
Posts: 3,291
|
Progress has been okay over the past few days. Most important job was that of the windows.
First up was the drivers side 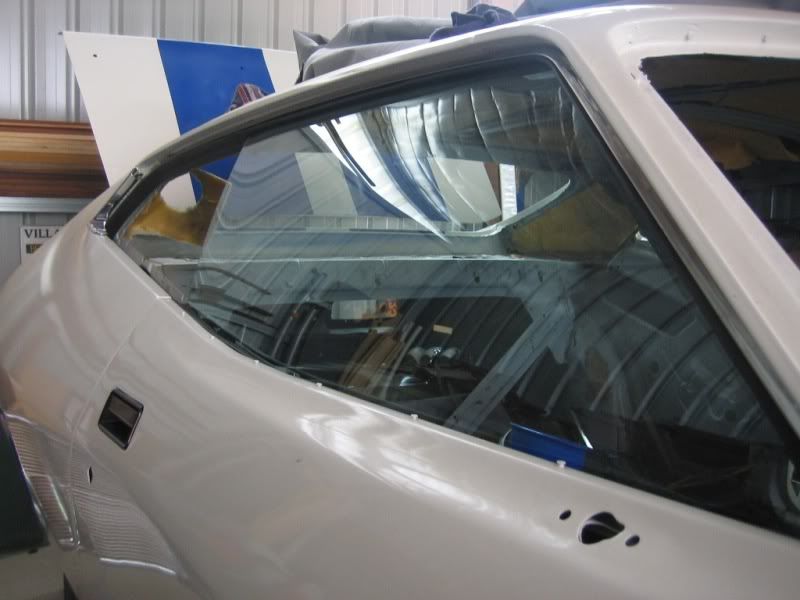 Then the passenger side but the new glass was not shaped correctly. That is, once fitted in the door, it did not match up against the seal. So, out it came and was checked against a standard Ford glass. You can see here where it bows out of shape 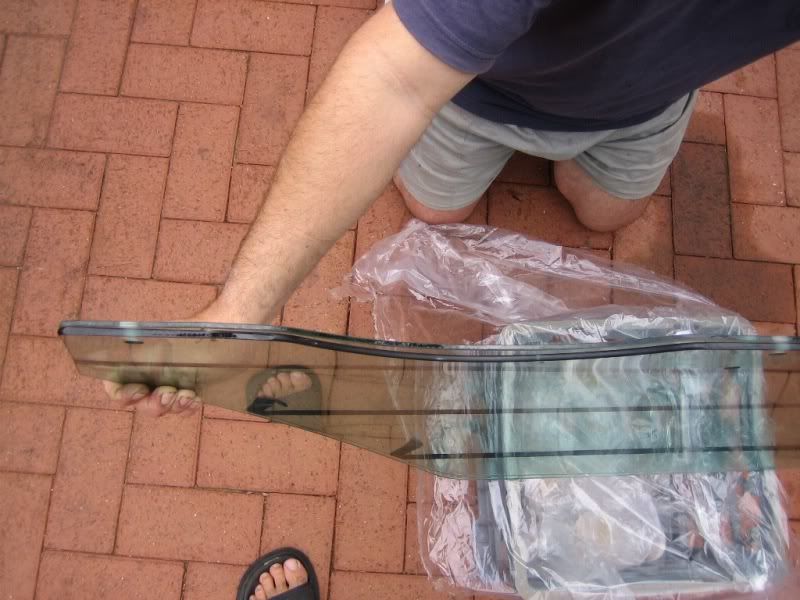 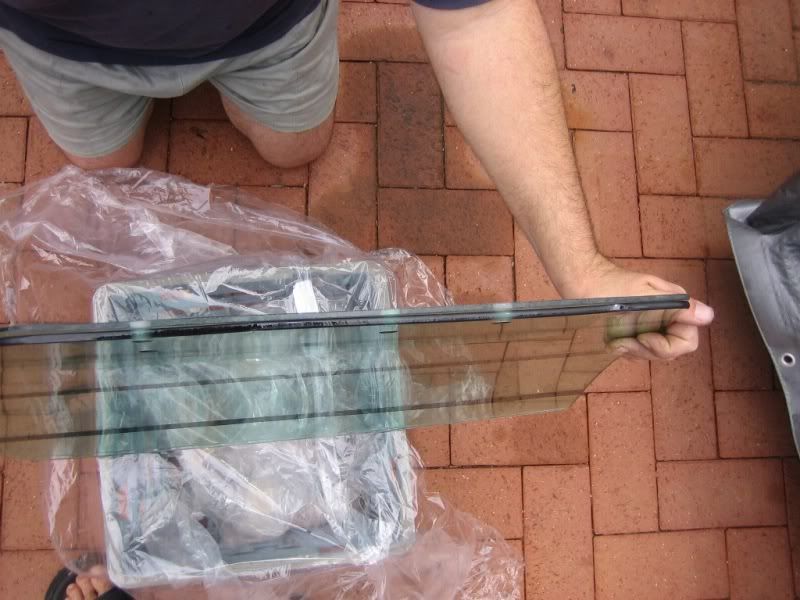 Will now have to get in touch with the Company that I bought it from and will hopefully get another one that is correct. Next up was fitting the rear windows 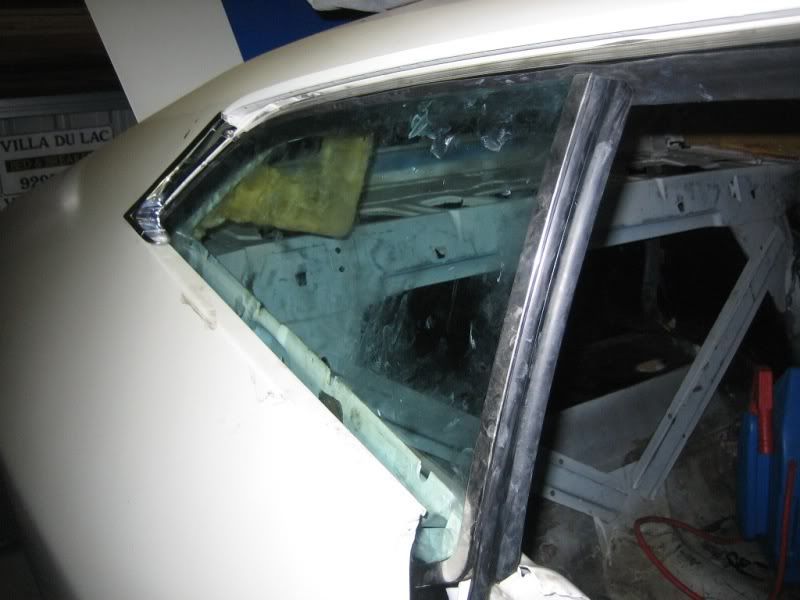 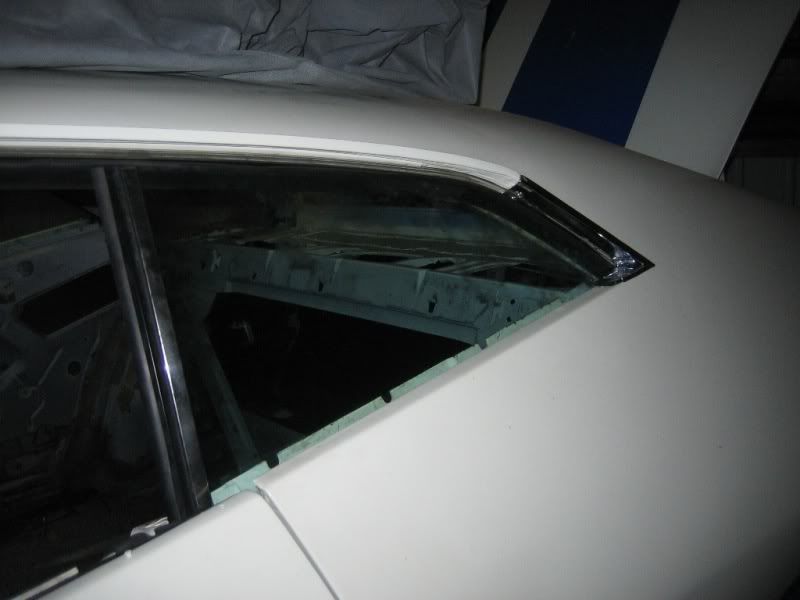 Another couple of jobs was the boot including the fuel tank and tail lights/loom. 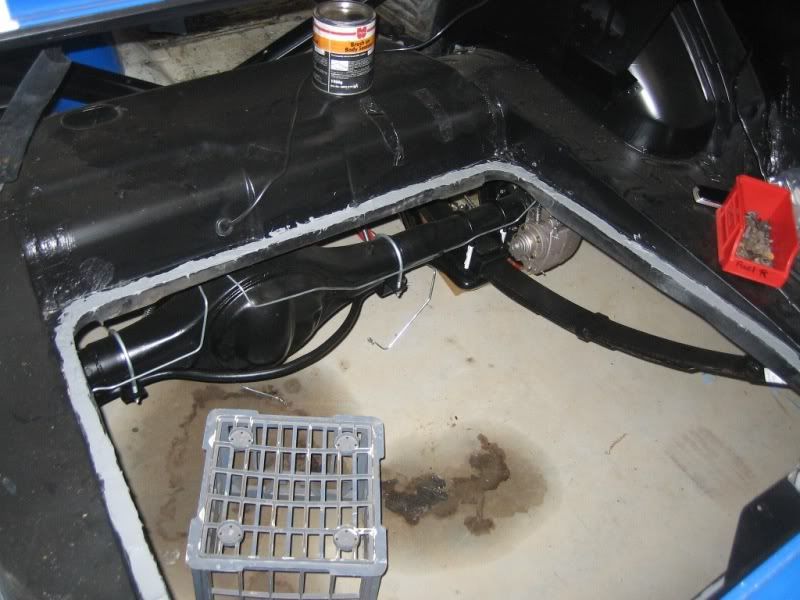 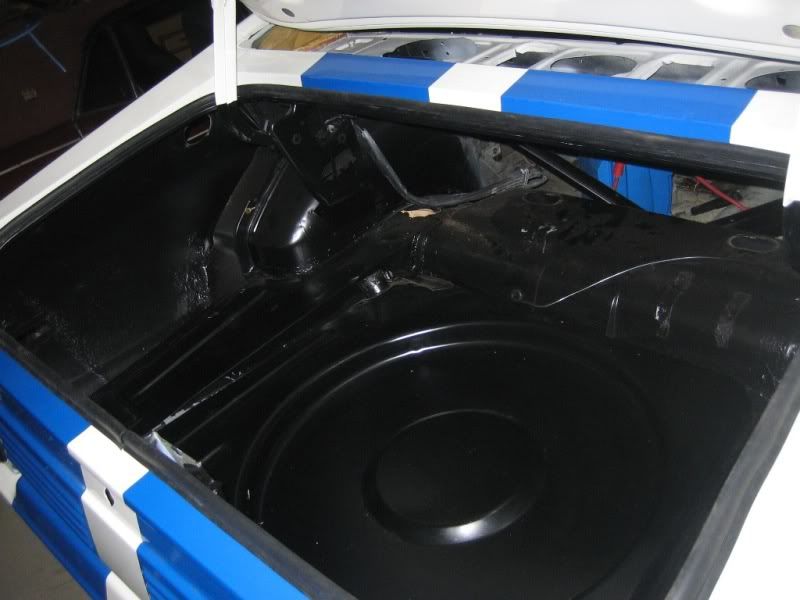 Rear loom now finished and both tail light assemblies fitted. 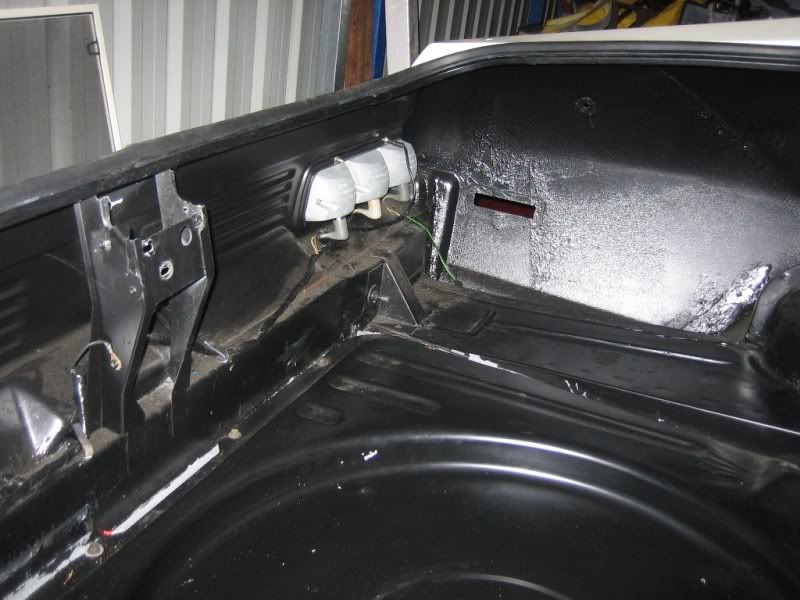 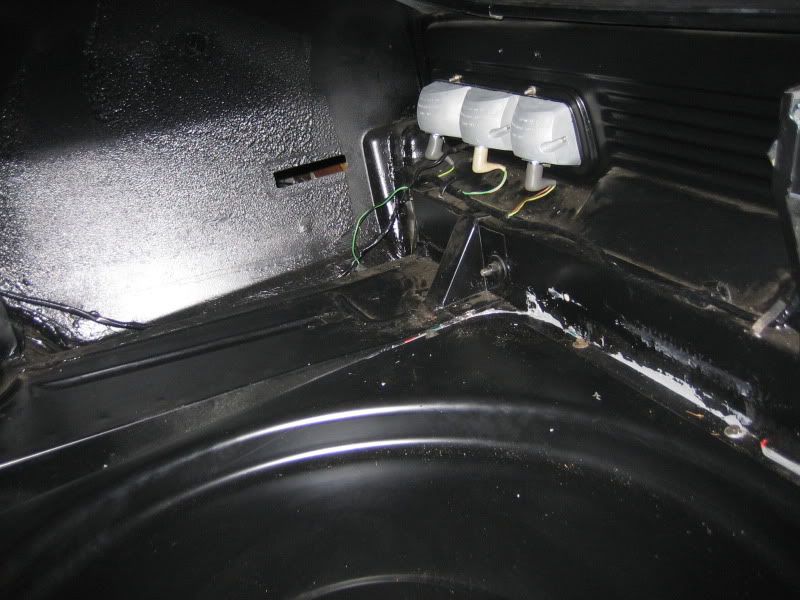 The last job done was that of the barke booster and lines 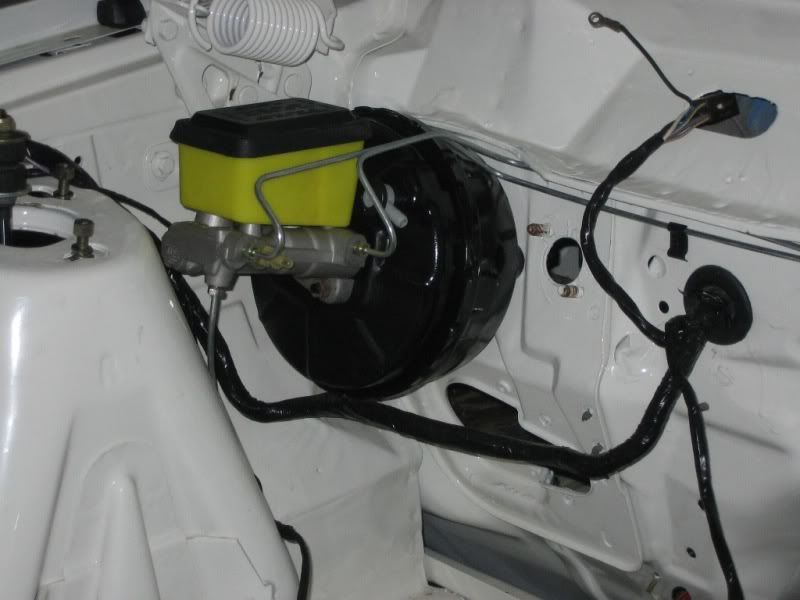 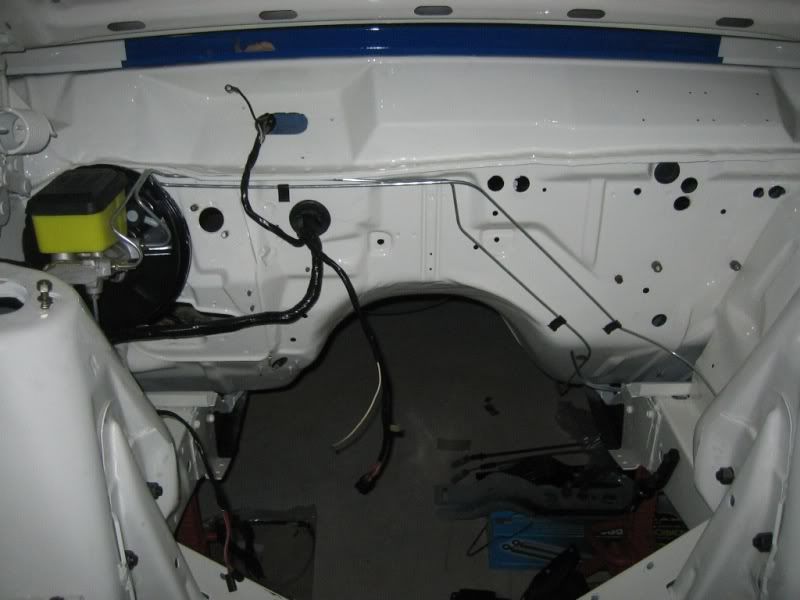 Will update when progress allows. |
||
|
|

|
|
|
#89 | ||
|
Regular Member
Join Date: Jan 2009
Location: Geelong
Posts: 127
|
Hey Paul,
A couple of points, first up congrats on your resto, you're doing a fantastic job and the efforts you're putting into it are showing with the high quality results. Second, can I just say a quick thank you for posting up all the detailed pics of your resto. I've found your pics along with the other restos on here very helpful with restoring my own coupe. Lastly, can I ask a question. The trim piece that attaches to the front of the rear windows, is that meant to be chrome/polished or is it meant to be black in the Cobras? I noticed that you have them in chrome, however a lot of the Cobras I've looked at have them in black. Cheers and good luck with the rest of your resto. Regards -- Darren
__________________
1972 XA Coupe - Cobra Replica (Resto Thread) 1977 XC GXL - Donar Car for the Coupe Project (Initial Resto Work Thread) |
||
|
|

|
|
|
#90 | ||||
|
P6 LTD
Join Date: Feb 2005
Location: Perth
Posts: 3,291
|
Quote:
The pics posted so far are but only a fraction of the ones that I have taken. If you need anymore, let me know. I can either post them up or email them to you. I tried to take as many prior to dis-assembly as possible and then a whole heap as I go putting the car back together again. Quote:
I have gone chrome so as to maintain the 'side chrome look'. That is, the gutter moulds are chrome, the door top moulds are chrome as are the C pillar moulds. To me, although it seperates the windows, it just looks a bit dis-jointed having all of the window surround in chrome with a black centre piece. With respect to the front and rear window surrounds, they will be black as per standard. And thanks for the nice words. |
||||
|
|

|